Monday, October 10, 2011

Stained glass

Good evening guys! I'd like to show you my stained glass mani. It was really supposed to be circles, I wanted to do Nailnerd's blue balls but then I got a little playful with the black outlines and so the end result. My two-way nail art pen is also to blame as it spurts out polish all of a sudden. I badly want a new one!

My pinky nails got the thickest outlines! However, I'm still happy with the end result. It looks nice from afar. Looks really wonky up close. So please, don't zoom :)

I tried it in 5 different colors - Purple, Blue, Green, Yellow and Pink so I can have different options. After a while, I decided for the green group to stay.


I will post the full nails with green stained glass design right after I publish this. Keep posted!

Sunday, October 9, 2011

What I did during the brownout. . .

As many of you may know, the typhoon Pedring caused brownouts over many cities in the Philippines. It was frustrating as I cannot do anything - no TV, no internet. But I gotta be thankful because we weren't affected by floods. Ondoy was enough for us.

To pass off time, I decided to do a rainbow mani. Very timely. As the song goes, "...there's a rainbow always after the rain." I love the rainbow! Here it is,


I know the lines were uneven. It was hard doing this kind of mani with no sufficient light! Pictures were taken under artificial light, after the brownout of course. I altered the colors on some fingers. Only the thumb and the ring finger got the full rainbow colors. I thought it would look too much to put all the rainbow in every nail.


To finish off the look, I drew a black umbrella on my thumb.

Hope you had a great weekend! Goodnight! 

Tuesday, October 4, 2011

Gray nails and curvy lines

Just a quick post for tonight - another mani done weeks ago.

For this mani, I used Cloudy Gray, another SanSan polish and stamped it with Wet n Wild Black Creme then put a matte top coat from Etude House. Pictures of the polishes I used:


As you see, there are still areas left unstamped. I kind of panic when I stamp as I am afraid the polish would dry off even before I stamp it. I need more practice! :)

The matte effect is not that obvious because the pictures were taken two days after I did the mani.
The design looks like strands of wavy hair to me! :)


Wednesday, September 28, 2011

Blue floral nails

Been out for almost two weeks. Two weeks seemed a month already! Still no internet at home. Calling PLDT DSL!!!

Anyway, these nails were done 2 weeks ago, i think. I used San-San Blue Sapphire as base and stamped it with white china polish. The white china polish did a good stamping job! It was very opaque and easy to work with! I love it! So, here it is. . .


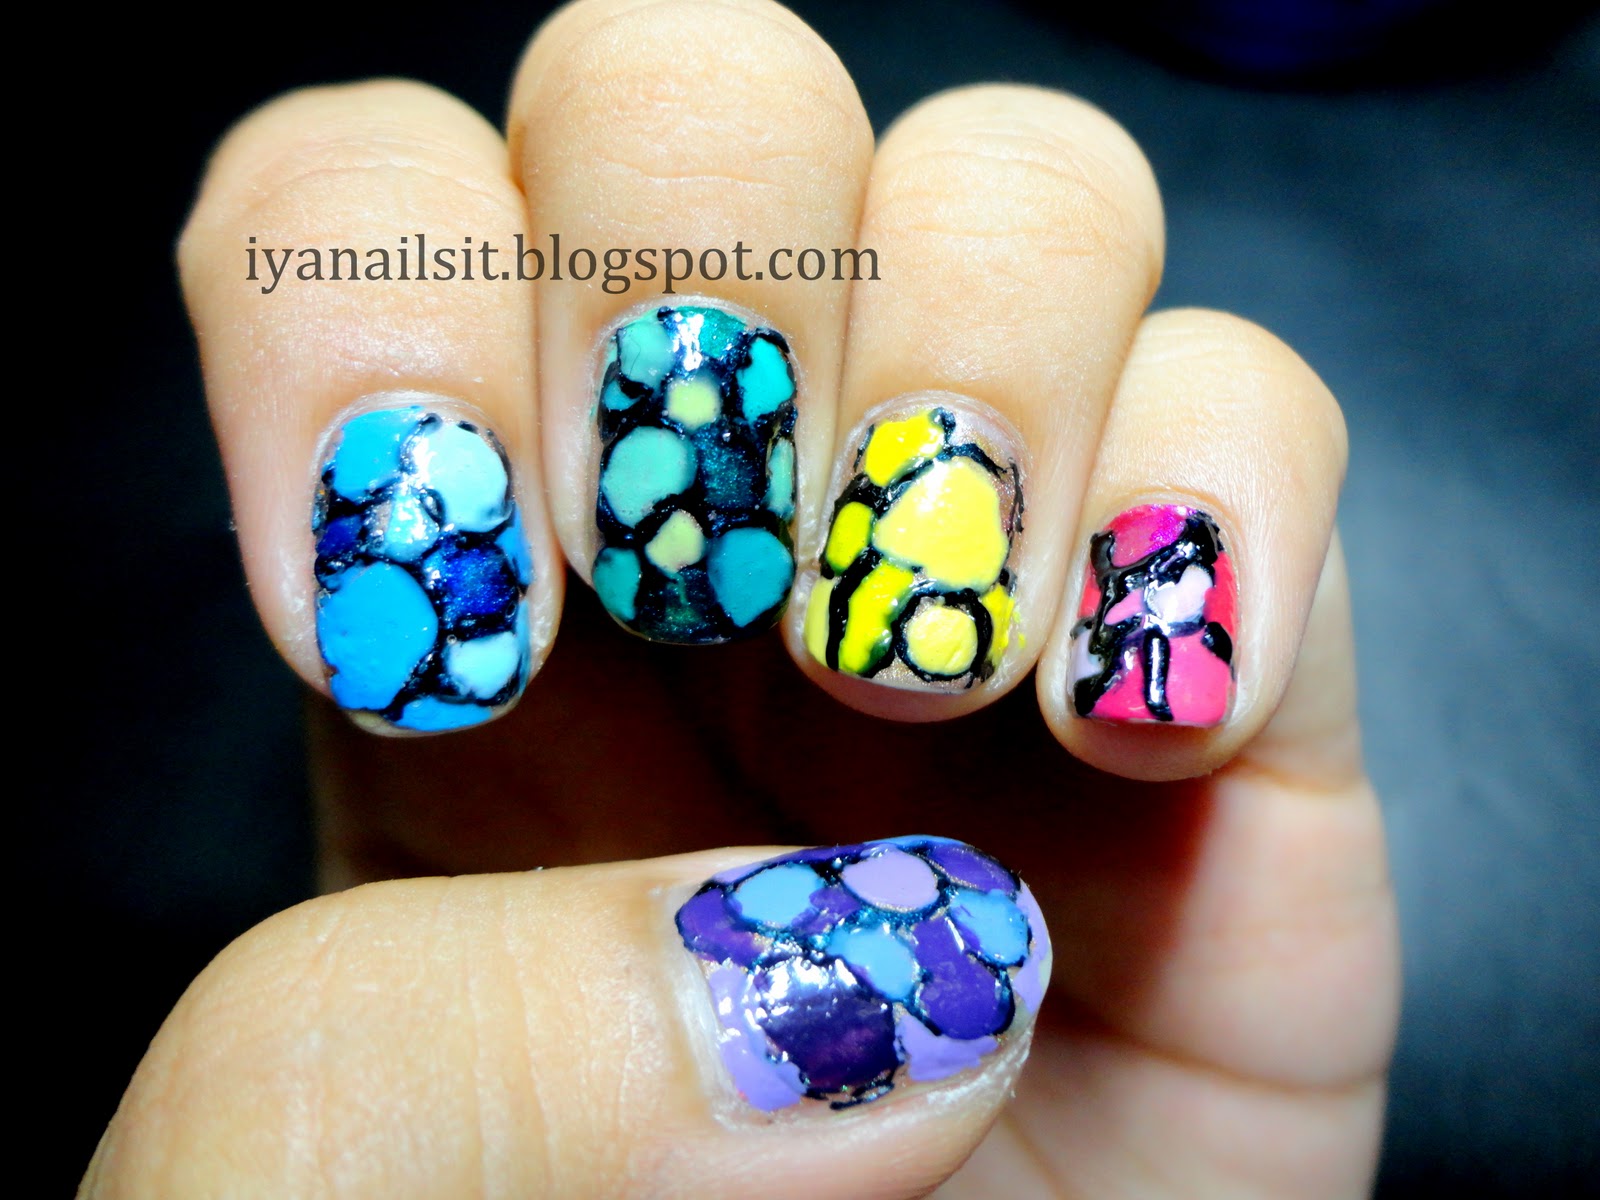
I know I have to practice more on stamping. I still can't cover my nails perfectly. For an instance, my thumb. See? Hmm, maybe i really have huge nail beds. Haha.
These are the polishes I used:
 San san nail polishes are kind of runny. They will also cover your cuticles! But, i still love this one. It has a really shiny finish! No need to put a top coat! Dries fast too :))
Another nameless china polish. This is such a goodie! I think this is my white version of the famous Wet n Wild Black Creme, really stamps well!

With my over-sized fabric ring. Flowers on flowers! :D
 

As I was looking on my finished mani, I suddenly remembered a pattern which I see on vases quite often. Here is a picture of a vase with the pattern. I don't know, but maybe because of my color combination. Does it resemble my nails? :D
That would be all for now!

Friday, September 16, 2011

Orange Franken

At first, the term franken appeared strange to me. It is strange, right? FRANKEN. Reminds me of Frankenstein. Can't help but laugh. Frankening is mixing polishes together to achieve a desired color. This is my second franken. My first try wasn't so nice. Came out too dark. So here it is. . .

An empty nail polish bottle is needed. I used acetone in cleaning my polish bottle. I used three shades of orange polishes and a white polish. I'm not a big fan of the color orange that's why I decided to franken a shade of orange that I would want. I want something subtle and close to tan.

I cannot really use my Caress neon orange polish. It is too neon! Imagine having a road reflector on nails. So to put it into a better use, I frankened it! 

I swatched the polishes on the paper.
Maybelline Mini Colo rama has some shimmery little glitters. 
THE FUN PART!
Here is how it turned out when applied. I am really happy with the result! This is my mom's hand! 
It was a really subtle shade of orange. Just the way I expected it!

It kind of looked like China Glaze Osaka to Me Orange. Photo courtesy of polishaddict
                                                      

And then, I was inspired with one of Nail Nerd's designs. Check out her blog! She has amazing freehand designs. 

Now, please don't laugh! They're supposed to be roses. But they look more of strawberries than roses. What do you think? Hahaha! I was running late to school that time. Just had to finish the design. So..there! 

LinkWithin

Related Posts Plugin for WordPress, Blogger...