Saturday, October 15, 2011

Flowers and an owl

Happy weekend everyone! Before I leave the house for worship practice, I'd show you a mani where I used paper hole reinforcements. Paper hole reinforcements are used to make half moons. A nail tip guide can be a good alternative too! The cuticle area of your nail is covered to achieve a half moon mani.


This is how hole reinforcements look like. 
I bought mine from National Bookstore for 15 pesos, I think.


Johanne advised me that they are available in NBS, thank you sis! You are so helpful :) 


I used the following polishes for this mani: 

 I was really into Nail Nerd's designs lately. One of her designs served as my inspiration.

Paper reinforecements are big help!
 I used a detail brush in drawing those leaves. This is a freebie given by Johanne for my purchase of a 12pc brush set. I'll post about it too! She also gave me nail tip guides. Thanks again! :) 

These are the brushes I bought from Johanne. Check out her shop at Facebook, Fab UR Nails Shop
This would be all for now. Stay posted as I post the pictures of my brushes! 


Monday, October 10, 2011

Green stained glass + tutorial

As I said in my previous post, here are the pictures of my green stained glass mani. :)


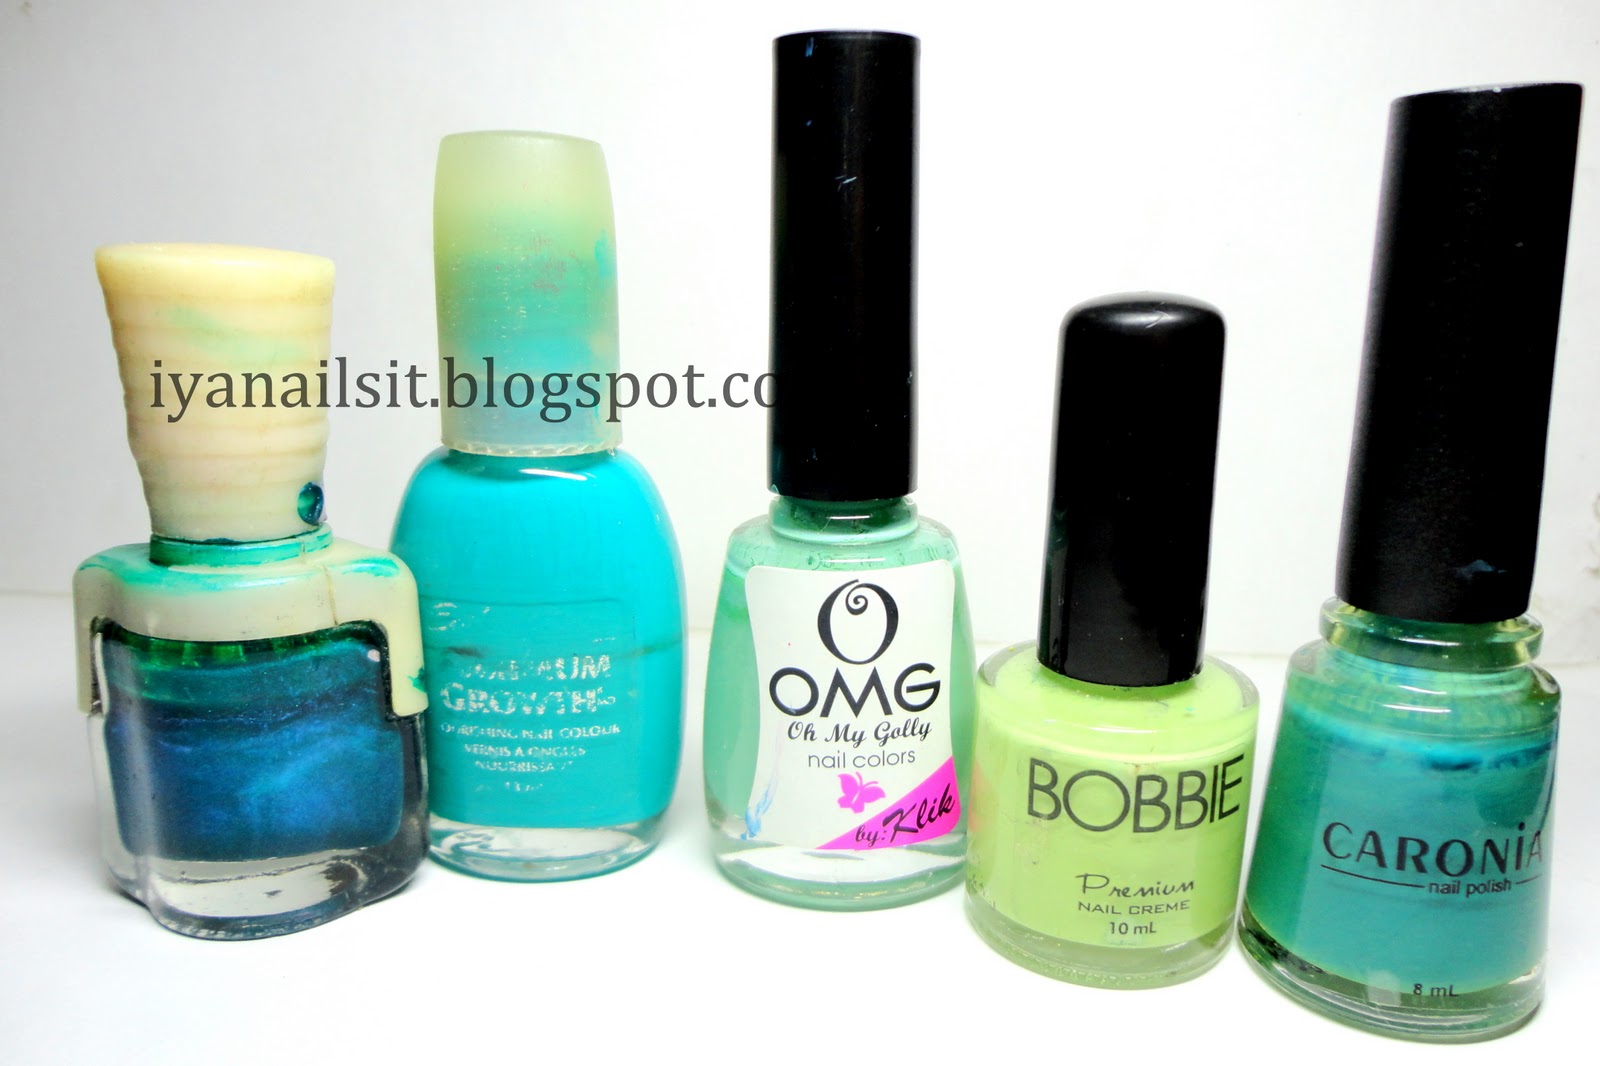
The polishes I used were these..My polish bottles look shabby. Haha! I used a two way nail art pen to create the outlines.

For those interested with how I did this mani, scroll further.
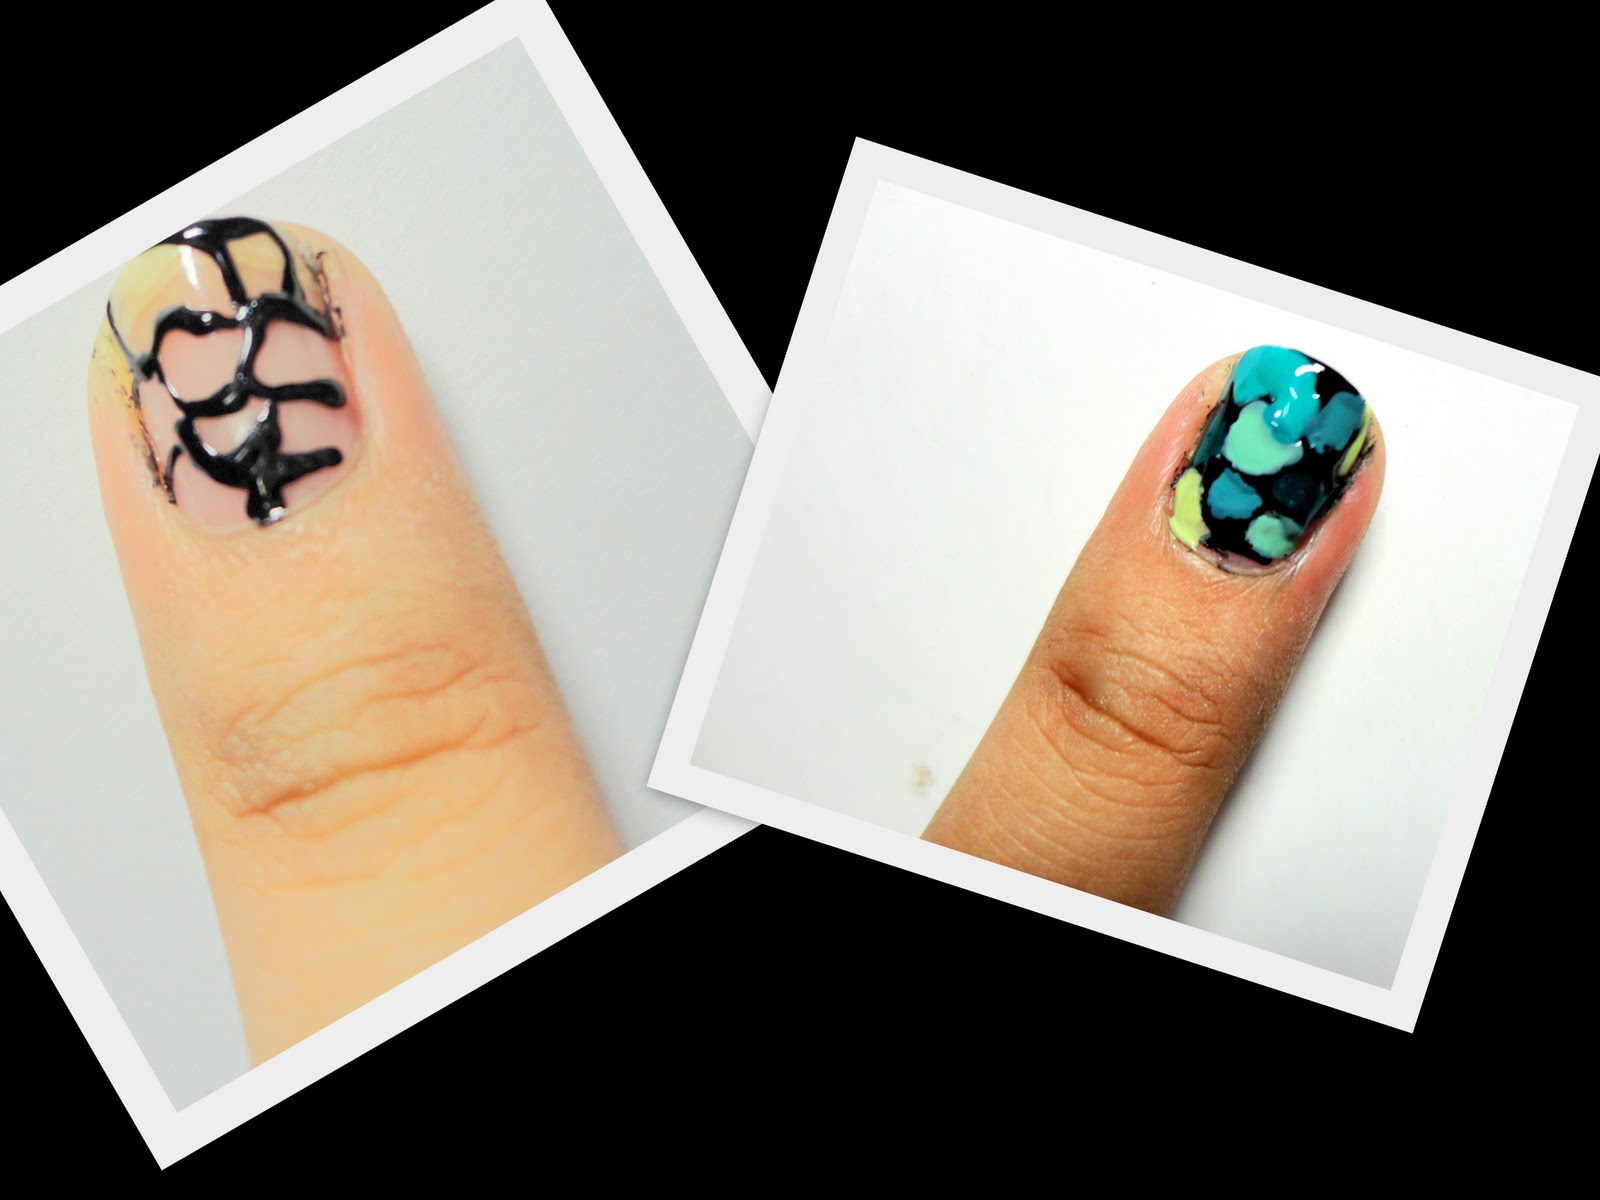
The picture on the left shows the initial step. Randomly make irregular and connecting shapes on your nails. You don't need perfect lines here! Have fun and be creative!

And then, fill in the empty spaces with your set of polishes. No rules in here too! Just go random.

Finally, redo the lines with your two-way nail art pen. A tiny brush would do too. Your end result would probably look like this

Good night guys!

Stained glass

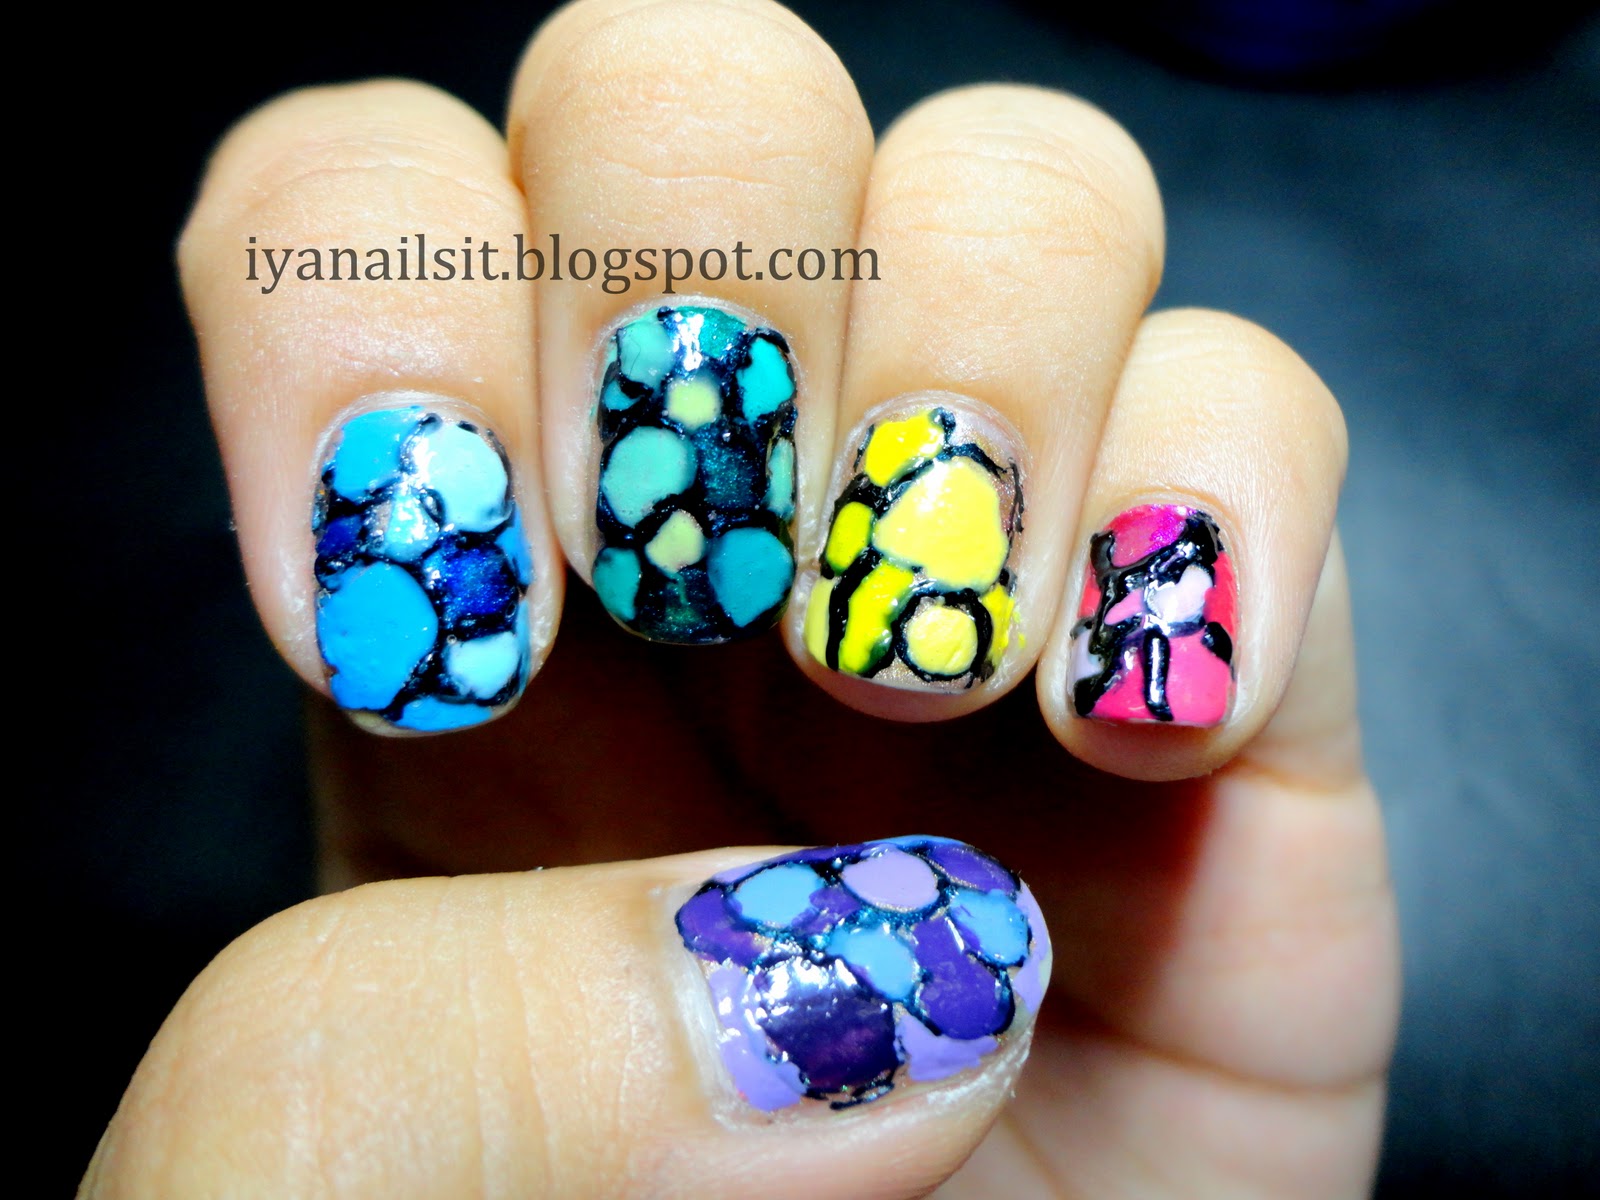
Good evening guys! I'd like to show you my stained glass mani. It was really supposed to be circles, I wanted to do Nailnerd's blue balls but then I got a little playful with the black outlines and so the end result. My two-way nail art pen is also to blame as it spurts out polish all of a sudden. I badly want a new one!

My pinky nails got the thickest outlines! However, I'm still happy with the end result. It looks nice from afar. Looks really wonky up close. So please, don't zoom :)

I tried it in 5 different colors - Purple, Blue, Green, Yellow and Pink so I can have different options. After a while, I decided for the green group to stay.


I will post the full nails with green stained glass design right after I publish this. Keep posted!

Sunday, October 9, 2011

What I did during the brownout. . .

As many of you may know, the typhoon Pedring caused brownouts over many cities in the Philippines. It was frustrating as I cannot do anything - no TV, no internet. But I gotta be thankful because we weren't affected by floods. Ondoy was enough for us.

To pass off time, I decided to do a rainbow mani. Very timely. As the song goes, "...there's a rainbow always after the rain." I love the rainbow! Here it is,


I know the lines were uneven. It was hard doing this kind of mani with no sufficient light! Pictures were taken under artificial light, after the brownout of course. I altered the colors on some fingers. Only the thumb and the ring finger got the full rainbow colors. I thought it would look too much to put all the rainbow in every nail.


To finish off the look, I drew a black umbrella on my thumb.

Hope you had a great weekend! Goodnight! 

Tuesday, October 4, 2011

Gray nails and curvy lines

Just a quick post for tonight - another mani done weeks ago.

For this mani, I used Cloudy Gray, another SanSan polish and stamped it with Wet n Wild Black Creme then put a matte top coat from Etude House. Pictures of the polishes I used:


As you see, there are still areas left unstamped. I kind of panic when I stamp as I am afraid the polish would dry off even before I stamp it. I need more practice! :)

The matte effect is not that obvious because the pictures were taken two days after I did the mani.
The design looks like strands of wavy hair to me! :)


LinkWithin

Related Posts Plugin for WordPress, Blogger...